
As promised here is the tutorial for the scrappy quarter log cabin quilt.

Start with a square. I cut mine off strips that were in the random strip bin I've been trying to tame. I used different sizes ranging from 3"-2"

Sew a strip on to one side, press toward the square. Trim to be even with your square.

On the adjacent side sew more of the same strip. If my strip was not long enough I sewed a similar color fabric strip to it and had a pieced log. You decide if you want it that scrappy. Once again press and trim.

Choose another strip

sew it next to your first log.

Once again press and trim.

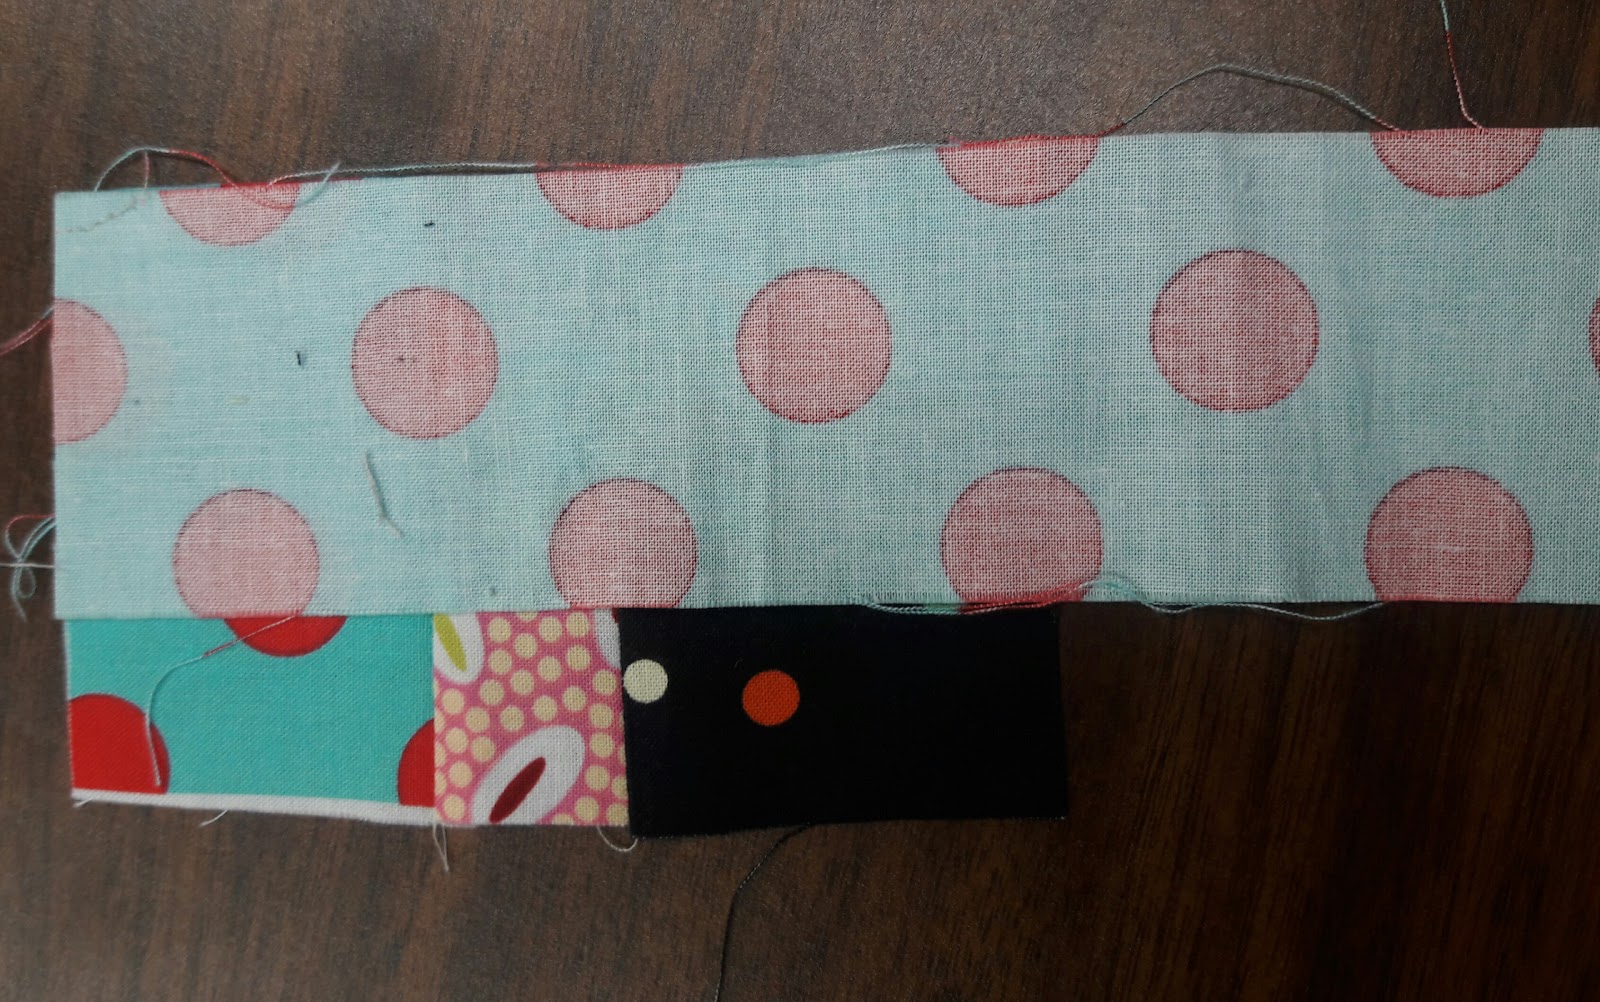
Next sew more of the same strip to the side with your second log. Press and trim.
Repeat this process until your block is about 9" square. Then use a ruler to square up your block to 8 1/2"

Ta Da you have a block.

Make many blocks. I made 50 and it still didn't use up all my strips.

For the setting cut a 12 1/2" square from your setting fabric. I used 5 of these.

Cut it on the diagonal twice. You will have two leftover. I found if I cut those in half they worked for my corners. I know technically I should have cut two 6" squares and cut them on the diagonal once. But why waste fabric?

Place these around your quilt to finish edges and sew in diagonal rows.

Read More
ConversionConversion EmoticonEmoticon